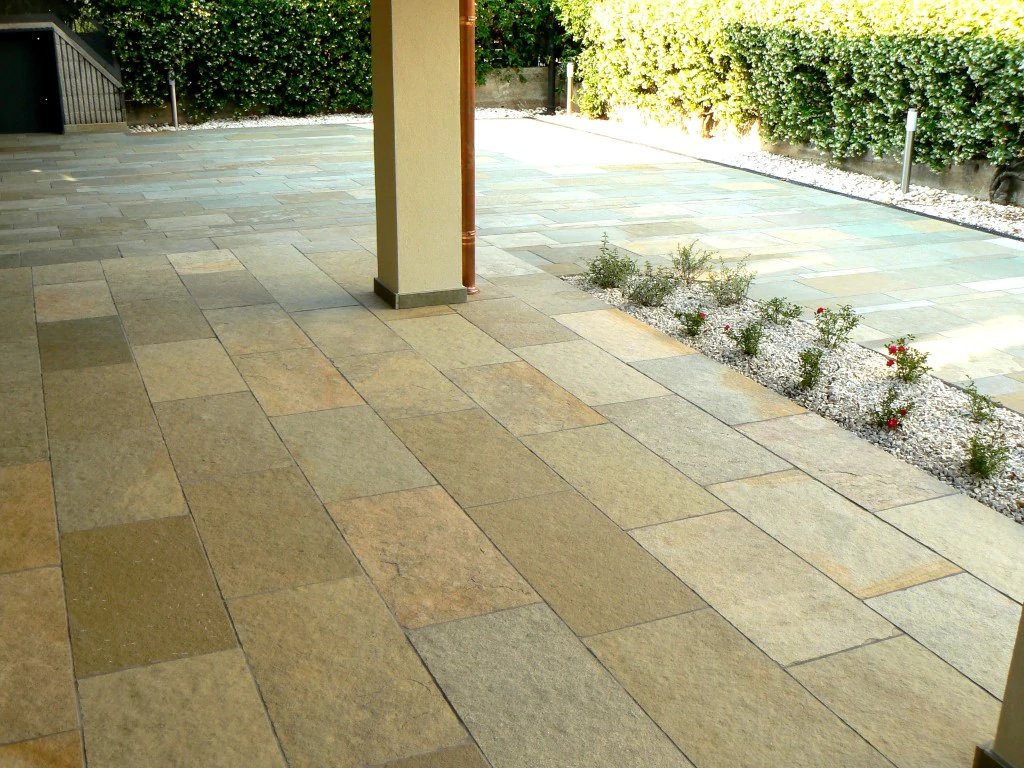
Limestone patio outdoor tiles are a lovely way to bring a natural touch to your outdoor environment. They are long-lasting and may be used to make a variety of patterns.
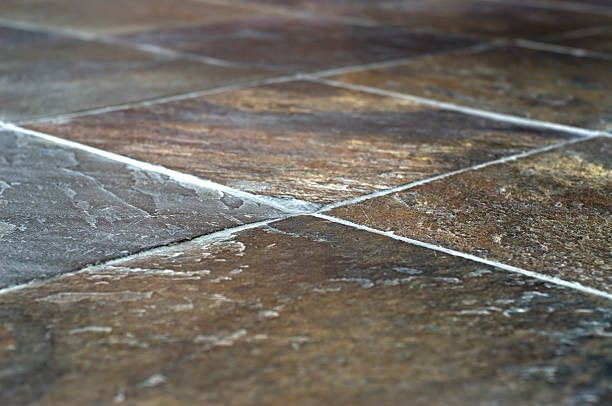
Outdoor Limestone Tiles
Limestone garden tiles are a lovely and natural way to give your yard character and charm. They’re built of natural limestone and have a rustic appearance that adds character to your landscape.
Limestone patio outdoor tiles are long-lasting and sturdy and may be used to build garden walkways, stairs, and borders. They’re also weather-resistant and suitable for usage in a variety of conditions.
Limestone patio outdoor tiles are ideal if you want to add interest to your landscape in a unique and natural manner.
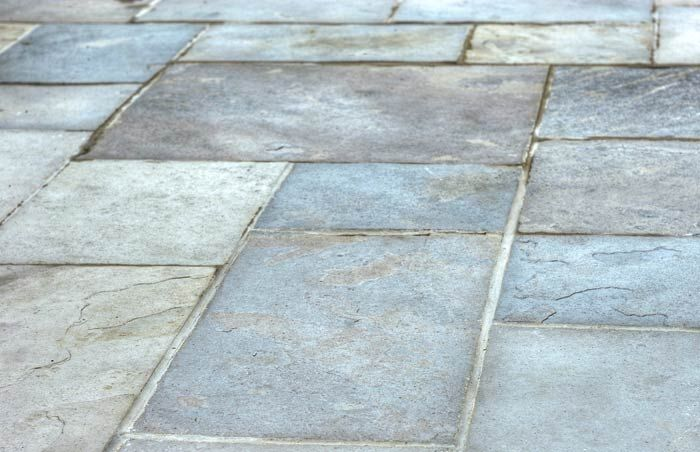
Outdoor Limestone Tiles
To improve the beauty of your yard, you may use a variety of outdoor tiles. A limestone is a popular form of patio tiling. Calcite and other minerals make up limestone, which is a sedimentary rock. Because it is robust, weather-resistant, and appealing, it is a popular option for landscape outdoor tiles.
There are a few things to keep in mind when installing limestone outdoor tiles directly on the ground:
- Prepare the ground: First and foremost, you must ensure that the ground is adequately prepared, level, and clear of debris. You’ll want to make sure the surface is firm and won’t shift when you walk on it.
- Apply uniform sand: Next, evenly distribute a layer of uniform sand over the surface and level it up with a rake.
- Squeeze: Squeeze the sand. This can be done using a machine. To verify that the whole area is level, use a big level.
- Begin laying the outdoor tiles: After the ground has been prepared, you may begin laying the outdoor tiles. To begin, place the tiles in the middle of the area to be covered.
- Use a level to double-check: Then, using a level, check sure the outdoor tiles are uniformly spaced and straight. You may tap the tiles into place with a rubber mallet after they’re in position. When tapping the tiles, be careful not to strike them too hard, since they might shatter.
Limestone patio outdoor tiles are a terrific method to make your yard seem more attractive. They are long-lasting, weather-resistant, and appealing. They’re also simple to put together, making them a terrific alternative for do-it-yourselfers.
Outdoor Limestone Tiles: Landscaping Tiles
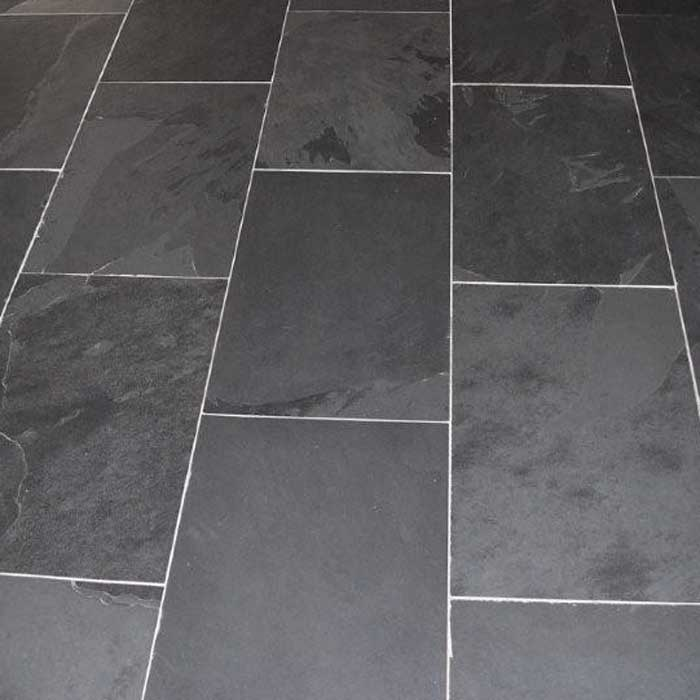
Limestone is a popular choice when it comes to landscape outdoor tiles. It is a quarried natural stone that may be found all over the globe. It comes in a variety of hues, ranging from light beige to gray tints and even black.
One of the advantages of choosing limestone for landscaping is that it is long-lasting and sturdy. It’s also relatively low-maintenance since it doesn’t need to be sealed like other forms of stone.
Another advantage of limestone is that it is a natural material that may give your landscape an earthy, rustic vibe. It also has a little rough surface that might aid prevent slippage when wet. You can read about A brief overview of slate outdoor tiles by visiting http://andyshowto.com/a-brief-overview-of-slate-outdoor-tiles/
If you’re searching for a flexible and long-lasting landscape tile, limestone is a great choice. It may be used for a variety of things, including walks, garden paths, and patio spaces.
Outdoor Limestone Tiles: Outdoor Flooring
Outdoor limestone tiles are a popular alternative for flooring. They’re long-lasting, water-resistant, and simple to clean. They are available in a variety of colors and designs, making them suitable for any outdoor setting.
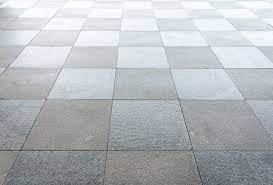
Limestone is an easy-to-clean natural stone that comes in a range of hues and patterns. They come in a variety of shapes and colors, including hexagons, squares, and rectangles, as well as beige, brown, gray, and black. A smooth or textured surface is found on certain outdoor tiles.
How Much Do Limestone Tiles Cost?
Limestone tiles are not the most expensive stones, although they might be more expensive than other tile varieties. Limestone tile prices are determined by the grade of the limestone as well as the other components utilized in the tile.
What Is the Price of Limestone Tiles?
Limestone tiles are a popular choice for flooring since they are both durable and attractive. Limestone tiles are priced differently depending on the kind and grade of limestone. Limestone tiles, on the other hand, range in price from $5 to $15 per square foot.
What Are Some of The Advantages Of Limestone Tiles?
Limestone tiles have several advantages. These are some of the advantages:
- Long-lasting and durable, although not as hard as some other tiles.
- It is simple to clean and maintain.
- It’s stain- and fade-resistant.
- A variety of colors and styles
- Natural and ecologically friendly items.
- They give every place a sense of beauty and class.
- They are cost-effective and reasonable.
- Will increase the value of your house.
- 9. Versatile, with applications in both residential and commercial settings.
How Should Limestone Tiles Be Cared For?
Limestone tiles are a popular flooring option since they are both attractive and long-lasting. They do, however, need some maintenance to keep their beauty and integrity. Here are some guidelines for caring for limestone tiles:
- Cleaning: Use a pH-neutral cleaner to clean limestone tiles. Acidic cleansers should not be used since they might harm the tiles.
- Clean up spills: Because limestone is a porous material, spills and dirt should be cleaned up as soon as possible.
- Rinse: After washing, rinse the tiles with clean water to eliminate any residue.
- Don’t use a lot of water: When cleaning, avoid using a lot of water since it might cause the limestone to get saturated and damaged.
- Polish: Use a limestone polishing solution on the tiles on a regular basis to keep them looking glossy and fresh.
Following these guidelines will help you maintain the beauty of your limestone tiles for many years to come.
Is Limestone Expensive Compared to other outdoor tiles?
There is no conclusive answer to this issue since it is dependent on a number of variables, including the size of the area, the kind of limestone and tile utilized, and the location of the installation. However, limestone is often more costly than other types of tiles.
Tile is a popular flooring option because it is inexpensive, long-lasting, and simple to maintain. Limestone, on the other hand, provides a number of benefits over tile. Because it is a natural stone, it has a distinct appearance that may bring character to a space. Second, it is more durable than tile, making it a suitable option for locations with a lot of foot activity. Third, unlike certain tiles, it is simple to maintain and does not need sealing.
Limestone, on the other hand, is more costly than tile. As a result, it’s critical to analyze the advantages and disadvantages of each alternative before making a selection. If cost is an issue, tile may be a better alternative, but limestone is an excellent option if you want a high-quality, long-lasting floor that will add character to your house.